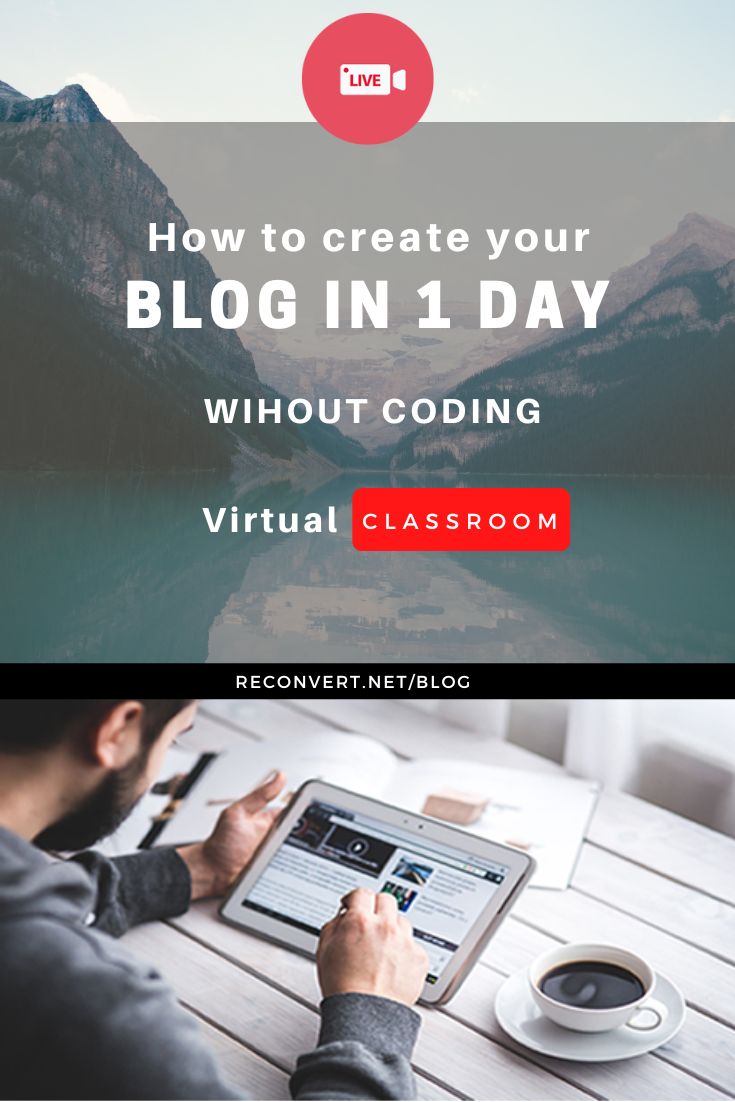
How to create your blog in 1 day, without coding
Today, we create a blog for several reasons. Some want to share their passion, others want to demonstrate their skills, still others want to monetize their blog and attract new customers. In addition to their corporate website, more and more companies publish a blog to communicate and/or establish their reputation.
Although the tools for creating a blog are becoming more democratic, there is still a little technical apprehension for those who are beginners, or for those who are technophobic. I'll give you some advice on how to get started, including the important steps to follow.
There are several services on the Internet allowing you to create and host your professional blog, for a monthly subscription of a few tens of dollars to several hundred. In this article, I consider that you want to install your blog on your own hosting, without having to pay subscriptions.
Want to create a blog ?
Attend our BLOG virtual classroom training.
STEP 1 : Find your host service
The first thing to do is find a host service for your blog. You need shared hosting: this means that your website will be hosted on a computer, alongside other websites from other companies. This hosting service is the most used by the majority of websites, while dedicated hosting allows you to host your wesite or blog on a computer dedicated solely to your website or blog.
To choose your host service, you can use the comparators. It will be necessary to check that your hosting allows you to install databases. The hosting must also offer the installation of a CMS in just one click (OneClick). The CMS or Content Management System is the blog software that will allow you to install your blog.
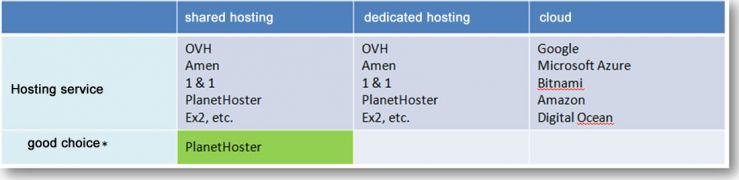
Shared, dedicated or cloud hosting.
STEP 2 : Find your domain name
In a second step, you will decide which domain name will be associated with your blog. This can be of type www.myblog.com (or .net something else).
An easy way to verify that the chosen name is available is to test it on your host's website. To then buy your domain name, the easiest way is to buy shared hosting: the chosen domain name is generally associated directly with the hosting.
A subdomain?
It is also possible to associate your blog with the URL blog.myblog.com. In this case, once the hosting (and the domain name) is available, you will need to create a blog subdomain from your hosting space. A blog folder will then be automatically created in your hosting space, and the you will install your blog CMS software in that folder.
STEP 3 : Install a blogging system
The next step is choosing your blogging system and install it. Several systems exist, each with advantages and disadvantages. WordPress is widely used for blogs, but you also have DotClear, Open Blog.... or even more complete CMS like ConcreteCMS, Drupal, etc.
Installing the blog only takes a few seconds, if you have chosen a host offering One Click installations. In our BLOG virtual classroom training, this installation takes only a few seconds, and gives you time to focus on the look and fell of your blog and on writing your articles.
STEP 4 : Design and build your blog
Need a (minimal) design?
Before committing to creating the different pages of the blog, it may be necessary, depending on your objectives, to make even a minimal design of the most important elements such as the structure of the blog, the organization of content on the pages (menu main, footer, left or right menu, central content of pages, location of forms, etc.) and the look and fell of the blog (graphic theme, colors, typography, etc.).
The blog structure determines how the different sections of your blog and the different pages fit together. If you do not have graphic skills, you can use already created graphic themes and install them in your CMS (see for example on Themeforest).
Finally, software like Powerpoint, mockup software like Pencil or web services like Canva can help you achieve the minimal design.
Create the different pages
Then, you can create the different blog pages: contact page, subscribe page or any other page you you want. Each CMS offers its own way of creating and managing pages, and increasingly by drag and drop.
STEP 5 : Secure, optimize and launch the blog
All that remains is to optimize your blog (in terms of SEO referencing, display speed, etc.) and secure it before launching it. Each CMS offers its own optimization tools and its own security mechanisms.
If you are a company, it may be wise to use a web security service provider to carry out security tests. Do not put your blog online without having secured it.
Only then, champagne for everyone.
Want to create a blog ?
Attend our BLOG virtual classroom training.

Founder of ReCONVERT, web and e-commerce project manager, trainer of +2000 trainees face-to-face and online (LIVE and VOD). Currently, I am developing Digital Learning.
Follow me on social media.
Suivre @reconvertme